A couple of weeks ago, I bought some fluffy reddish yarn and decided to crochet myself a scarf that I could wear as an accessory in my chilly apartment. I wanted something long and soft and beautiful to wrap around my neck. I was a great idea, except I don't crochet well at all. So after I unraveled the wonky rectangle that I'd formed, I reverted to the one stitch I can do consistently - chain stitch.
The result was exactly perfect. I made a very long chain, wrapped it into a loop and attached a tassel. The scarf can be worn long (nice with a dress or tunic) or looped into shorter lengths in a number of ways. There are far more than nine ways to wear this.
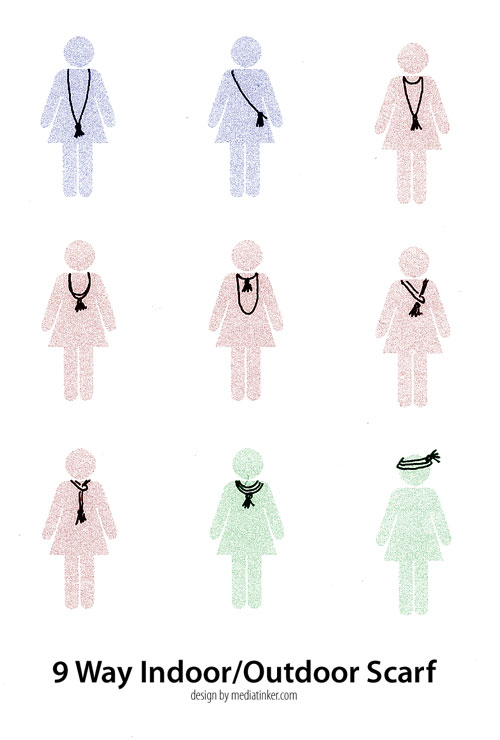
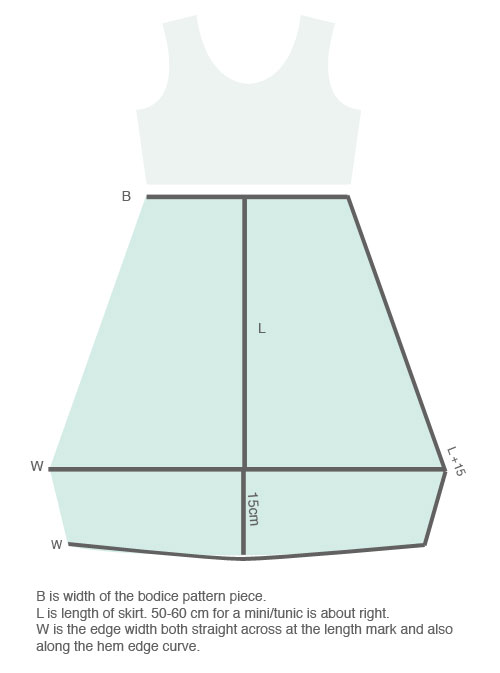
9 Way Indoor/Outdoor Scarf
time required: about an hour
Materials
1 ball soft and fluffy yarn (the texture hide imperfect stitches!)
1 crochet hook (mine's 6mm or 10/0)
1 large yarn needle
scissors
- Make a tassel. I did mine by wrapping the yarn around my Moleskine notebook about 30 times, then slipped it off, folded it in half, tied it in the middle and again around the bundle to make a ball. Trim the ends and fluff as desired. Once you have your tassel, set it aside.
- Crochet a very long string. It should be nine to ten meters long depending on how long you want your scarf to be. (I looped mine around my neck and down as far as my belly button.) Depending on the size of your skein and how much yarn you used for your tassel, you'll get close to finishing it all.
- Loop the chain to make a circle with five strands on each side. I hung it over a hook as I looped to help me keep it even. At this point you can unravel or continue chaining to get the length just right.
- Connect the ends of the chain by crocheting them together or tying them.
- Attach the tassel. I used the tail ends of the chain to thread my needle, and sewed through the tassel, then tied the tails and threaded them vertically down through the tassel, trimming the ends to length.
To gift one of these scarfs (it's a quick and easy stocking stuffer), you can print a 4-up A4 sized version of the graphic (Download PDF) that shows ways to wear it. Quarter the page, roll and tape the sheet, and slide the folded scarf inside with the tassel hanging out.
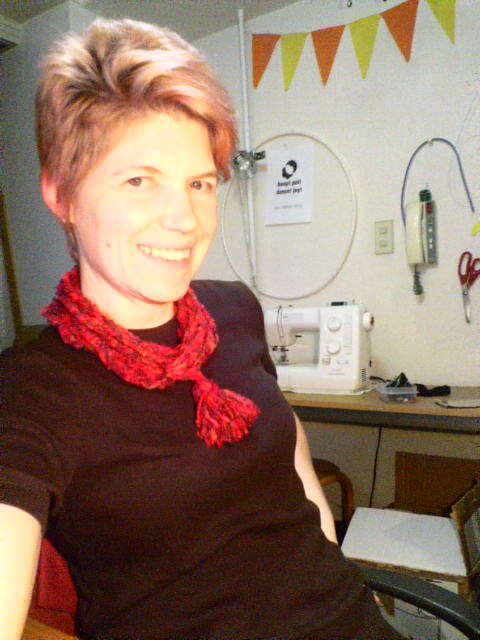
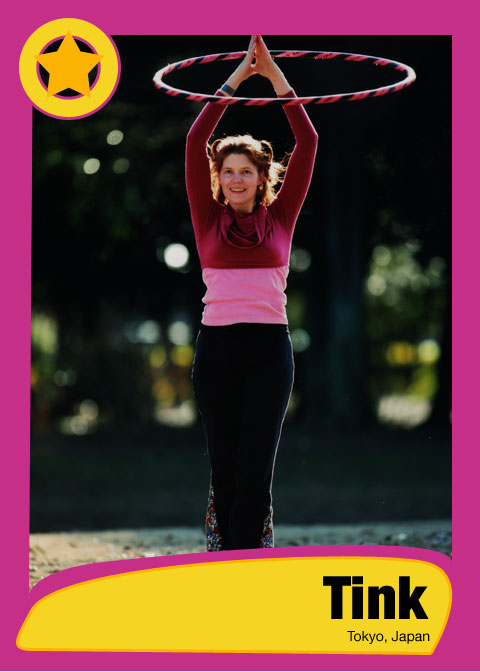
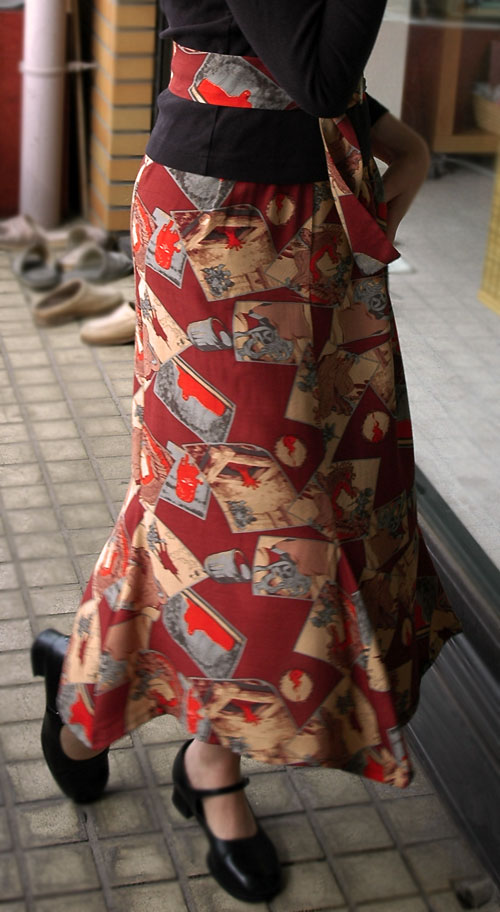
Me modeling one of the nine ways


 I haven't learned to knit in the round yet, but I wanted to knit a hat so I devised one made of three rectangles sewn together. It turned out well and friends have asked me to make more.
 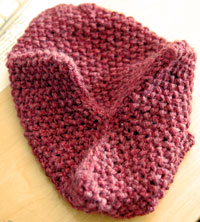 You will need to measure your head to decide where to stop. I did this by holding the rectangle to my head and when it reached from just above my brow to the crown of my head, I cast off.
Recent Comments