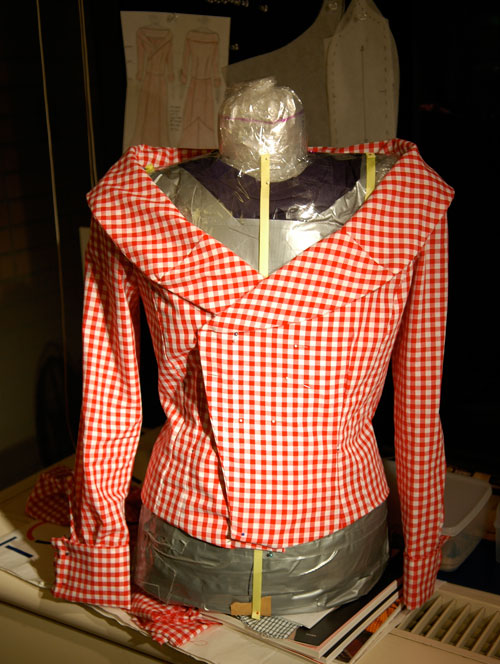
Just about there...
I did the skirt for Jenn's wedding dress in a wink about a month ago, but the bodice has been dogging me ever since. Seven days ago I bought a Japanese book of French wedding dress patterns and made a partial test bodice, but today I shook off my performance anxiety reworked the pattern more completely.
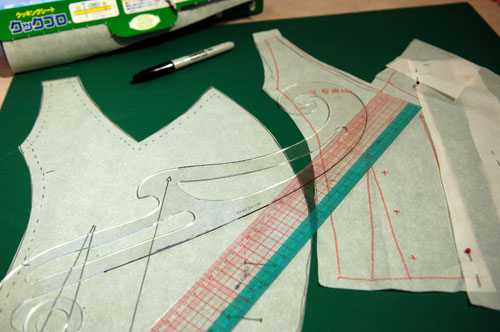
My new BFFs, the French curve and waxed paper
For the test bodice, I traced the pattern from the book but it needed some serious realignment to fit Jenn's measurements. Today I turned my slashed and taped pieces into neat and reuable patterns that I can send to Phyllis, the dressmaker.
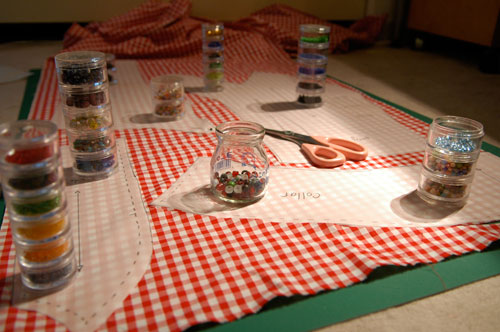
Why use pins when bead jars work so well?
Once I had the pieces organised, I cut a new bodice and lining to make sure that my changes would fit together correctly. Then I actually read the directions in the wedding dress book and made notes.
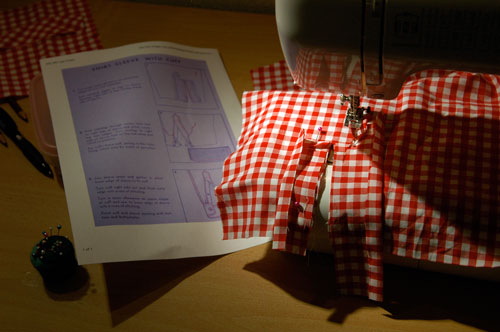
Reviewing vintage instructions before seaming.
I also used some information I dug up on the Internet. I have to say, vintagesewing.info is extremely helpful with vintage pattern drafting textbooks.
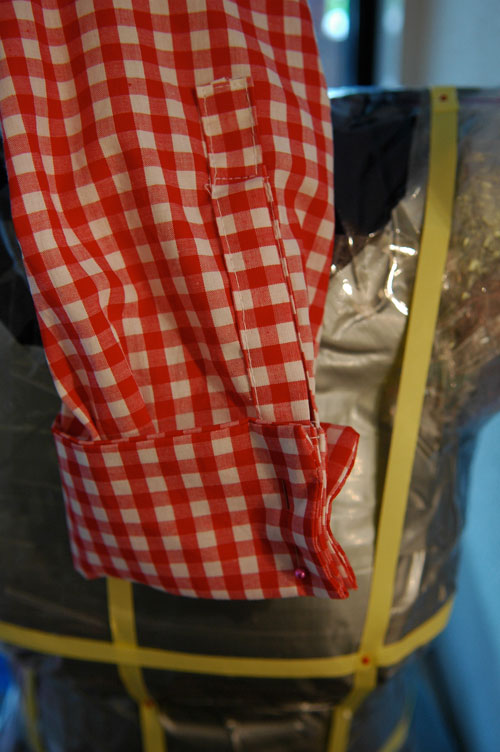
One of two different cuffs I tried.
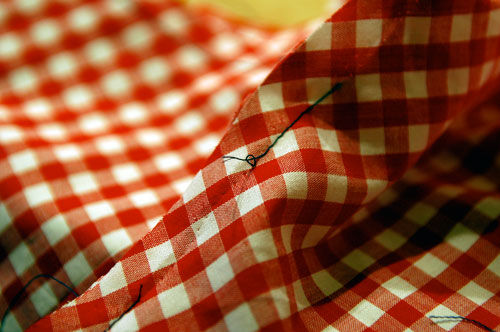
I unpicked a lot of mistakes. Some twice. Glad I used contrasting thread.
I am really a rotten seamstress, so this project taught me a lot. I made my own bias tape for the first time. I learned that a lining needs to be bigger than the garment it lines (who knew?). I discovered how to use a French curve properly.
Now that I have a nearly finished bodice, there are still things I want to change. The line of the closing needs to be more vertical towards the bottom. The hemline should be more even! I hope that Phyllis will be able to understand my notes and scribbles.


Recent Comments