Main

January 17, 2007

What is this?

In the 14th century, an Italian painter named Cennino Cennini wrote a text on the techniques of painting. None of his paintings are known to have survived but we know how he worked and that is perhaps better for history.

I'm going to see if I can teach myself these methods and document them as I go along.

The original Libro dell'Arte is in Italian, of course, but has been translated several times in various editions. I'm using a combination of the 1859 Italian edition (machine translated into English as necessary) and Daniel V. Thompson Jr's 1933 translation of that edition for Yale University Press (currently published by Dover) known as The Craftsman's Handbook. I also have at hand a copy of Henley's Formulas and Lindsay's Chemical Cross Reference to provide me with slightly more modern instructions on some of the recipes Cennini glosses over. I'll find (and share) other sources and resources as I go along.

Cennini is a product of his time. He's quite religious. He advocates apprenticeship. He assumes knowledge that's been long forgotten. His writing and the translation are at turns complicated and sparse.

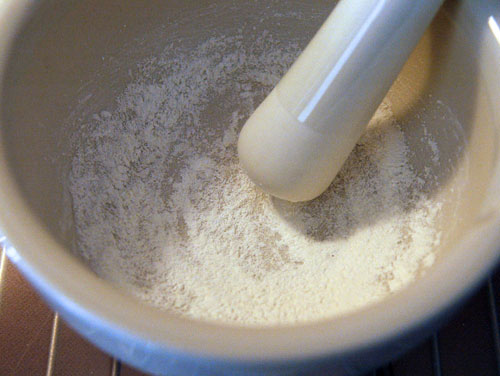
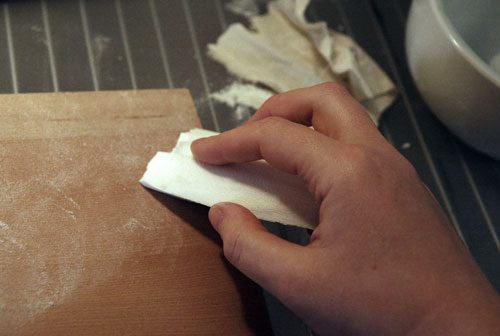
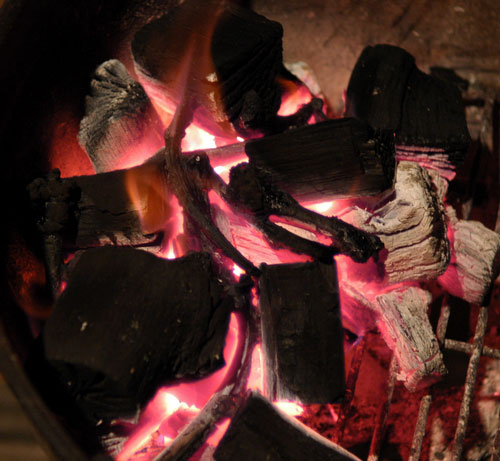
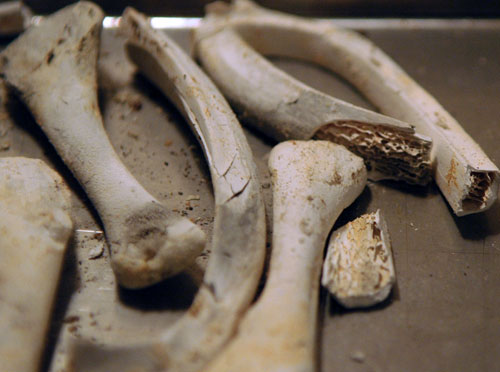
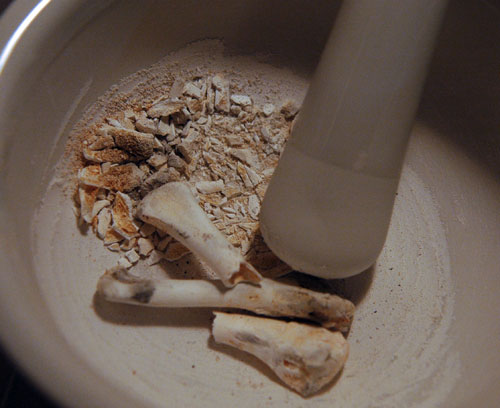
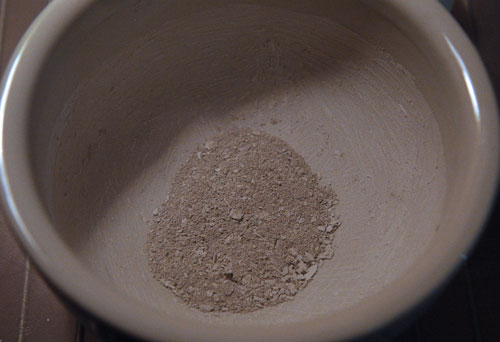
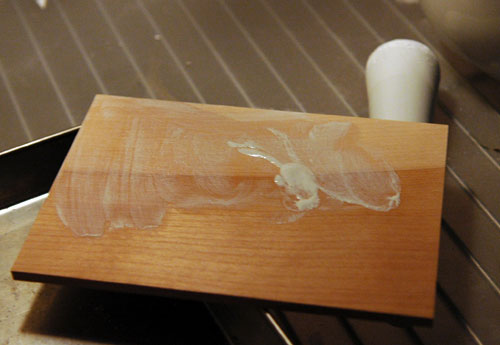
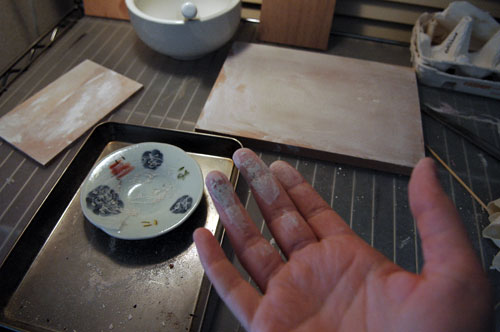
This should be quite an adventure. Will I be able to decipher 14th century instructions into something that makes sense to me? Will I be able to find the materials I need? Will the neighbors complain of foul stinks and plumes of acrid smoke? Despite the numerous likely pitfalls, I'm looking forward to making my own charcoal drawing sticks, mixing up a glue from lime and cheese, and trying my hand at gilding.

How to Navigate the Site
I've divided the site into the different sections in the book: Drawing, Colors, Fresco, etc and will go through each of them in turn, so until I finish the project (years after I begin, I imagine) there will be categories that are blank. The full category listing is on the home page

To read my adventures chronologically, which include Cennino's text, my comments, questions, trials, errors, discoveries and experiences, start with January 2007.

Or search for a specific word or phrase from the home page.

Who Am I?
There's an unanswerable philosophical question! But some stats are:

Born: April 1966
Nationality: American
Residence: Tokyo, Japan
Occupation: dilettante creative person
Blood Type: A

If you want to know more about me, scan through mediatinker.com where I've been posting since July 2000. Or look at some photos I've posted to Flickr. Or Google for "kristen mcquillin" and see what embarrassing things pop up.

January 18, 2007

Boxwood Blues

Armed with the word for boxwood in Japanese, tsugezai, I started doing some research on the Internet to see if there was a convenient place to buy some panels to draw on. Shogi tiles are made of boxwood, as are traditional wooden combs, so I figured it might not be too hard to locate. But nothing on the web pointed to a lumber yard selling boxwood planks.

So I went off to Tokyu Hands, the popular and vast DIY/art supply/trendy homeware store. They seem to have everything you could ever want, until you want something specific. I poked around the exotic woods section for a while before asking someone about tsugezai. He led me over to a small heap of mug-sized logs. Tsugezai, but not in the format I needed. Still, it gave me a chance to see and feel it.

Boxwood is very dense. It is fine grained, heavy and almost waxy along its cut edge. What could substitute for that? I decided to buy a variety of small wood planks marketed as "postcards" until I can get my hands on some proper boxwood.

libro-walnut.jpg
Walnut is dark wood with a fine grain. It feels quite smooth and I when I press a thumbnail hard across it, it makes only a slight indentation in the wood.

libro-beimatsu.jpg
Oregon pine has a large uneven grain, almost lumpy. It dents easily when I run a thumbnail across it. Not suitable for drawing, I think.

libro-sakura.jpg
Japanese cherry, sakura, is commonly used for carving woodblock prints. It is finely grained, heavier than any of the other woods I have and does not impress easily with a thumbnail. I think this one will work best, so I bought a larger piece of it as well.

libro-nire.jpg
Elm, called nire in Japanese, alternates narrow bands of hard and soft woods. Even milled, it's a bit rough to the touch and rather soft.

libro-tochi.jpg
Japanese horse chestnut, tochi, is very pale with a fine grain the has a watered silk-like pattern. It does not pass the thumbnail test - too soft to draw on.

I will continue to look for boxwood, but in the meantime, will begin to prepare the sakura and walnut boards by watering and polishing them with cuttlebone powder.

January 19, 2007

Cuttle polishing

Wow, that really works. Cuttlebone is 14th century sandpaper.

I found a cuttlebone at the pet store. I don't know that you can get them anywhere else and though I had a look around the jewelry making supplies at Tokyu Hands, I didn't try anywhere else. 21st century pet parakeets around the world keep the cuttlebone industry alive and well. That's good enough for me.

I also purchased a ceramic mortar and pestle so that I could grind the cuttlebone into powder. As it turns out, that was unnecessary. Jim explained how he used cuttlebone when he did antique paper restoration (I have a friend who has done paper restoration, wow), just peeling off the hard shell and rubbing the softer inside part against the paper.

I decided to try it both ways.

libro-cuttlepowder.jpg
Ground cuttlebone

I broke off a bit of the cuttlebone and crushed it up in the mortar, then ground it for about 5 minutes to produce the powder pictured above. I sprinkled it on the sakura board and rubbed it in with a piece of unbleached muslin. It worked pretty well, especially when I took a teaspoon of the powder, wrapped it in the cloth and used that against the board.

libro-cuttlebone.jpg
Cuttle polishing directly on the board

But Jim's method worked better and it was easier since I didn't need to grind the cuttle first. After going over it thoroughly with the cuttle and producing a lot of dust, I used my powder-filled cloth to continue the polishing.

I discovered (maybe re-discovered is truer) that I am impatient with the work, so I put on some old pop music and sanded the big board for a full two songs. Then I dusted everything off with a clean rag and went to rinse the boards clean.

Cennino says

...smooth and clean, that is, washed with clear water; rubbed and smoothed down with cuttle such as the goldsmiths use for casting. And when this little panel is thoroughly dry...

I didn't wash the boards first, because I assumed that modern milling and distribution practices are pretty clean and tidy. Tokyu Hands is not full of sawdust. But I should not think I know better than my master. When I washed the boards after polishing, all of them but the walnut raised up their grain and became rough and scratchy. Maybe boxwood would behave differently. Regardless, now they are drying in the chilly, dry winter day. When they are dry, I will polish them again and simply do a very good job of dusting off the excess powder, instead of washing them clean.

I had chicken wings for lunch today just so I could get some bones. Yesterday my friend Maeda-san at Amorosso gave me some lamb rib bones (not the thigh or shoulder bone that Cennino recommends and who knows if the lamb was gelded, but I'll try the ribs and see how they go) Tonight I will fire up the BBQ and toss my chicken and lamb bones into the coals and see if I can get them to turn "whiter than ashes."

January 21, 2007

Calcination

I entered the realm of alchemy when I tossed the chicken and lamb bones into the hot coals in the Weber grill on Friday night. First there was a huge amount of flame as the meat and fat burned off. We stood back and watched (so did one of our neighbors). "That a lot of calories," Tod commented.

ca-grillbones.jpg
Heating the bones

After the fire settled down, we watched the bones turn from charred black to white as they heated up and burned away everything but their calcium. This is called calcination. It's one of the 12 vital processes alchemists used to transmute substances.

ca-calcinated.jpg
Calcium shells of chicken and lamb

After about half an hour or so, the bones were "whiter than ash" and I drew them from the fire. They were lightweight, brittle and chalky. They cooled very quickly; when I photographed them less than five minutes after taking them out of the coals, they were room temperature.

I can understand why alchemists were impressed with calcination.

January 23, 2007

Grinding Dem Bones

ca-bonegrinding1.jpg
First crunch. They were so brittle that they broke up quite quickly under the pestle.

Now I answer my earlier question " Am I strong enough to grind bone 'diligently for two hours'?"

Yes, I am, but after about 45 minutes of diligent grinding, my arm gets tired. So I broke the task up and spent a couple of days grinding first the calcined chicken bones, and then the lamb rib bones in a second batch. Four hours of diligent grinding in total.

ca-bonegrinding2.jpg
Powdered chicken bone ready for storage in an origami folded packet

The chicken bones came out somewhat cakier - just a tiny bit more moisture in the bones, I guess - and a bit greyer from some soot on the bone ends. The lamb bones were somewhat crispier and a little bit harder to grind smooth. Even after two hours of grinding, they weren't quite as perfectly powdery as the chicken bones. Probably if I'd followed Cennino's instruction to use lamb thigh or shoulder bones, it would have worked better. Always do what the master says...

Grinding is tedious, but it gives me a chance to listen to audio books or watch crap on YouTube. I'd better get accustomed to the task because I've read ahead in the book and I know that I will be doing a lot of grinding in the upcoming months.

January 25, 2007

Priming the Boards

The problem with being an apprentice to a man who has been dead for hundreds of years is that he's not here to watch over and give advice. I tried to prime the boards with the ground bone yesterday, but something's not right.

...take less than half a bean of bone, or even less. And stir this bone up with saliva. Spread it all over the panel with your fingers and before it gets dry, hold the little panel in your left hand and tap over the panel with the finger tip of your right hand until you see that it is quite dry. And it will get coated with bone as evenly in one place as another.

So there were my instructions. I decided a "bean" should be about the size of a fava bean since I know those are popular Italian beans. Half a fava is about a lima, I reckoned. So with a lima's worth of lamb bone, I worked up a good bit of spit and mixed.

ca-spitboard.jpg
A splotchy smear of bone-and-spit

The mixture was uneven and difficult to apply smoothly. If I went over it twice with my fingers, it smeared around and left streaks. It seemed terribly transparent, too. By the time I'd gotten the board covered in bone, half a minute or so, the board was already semi-dry.

Holding it and tapping didn't seem to do anything, really. I tried holding it vertically and tapping on the surface with my finger. That succeeded in tapping fingerprints into the prime. I tried holding it horizontally and tapping the edge and bottom surfaces. That did make one largish crumble flake off and skitter over the board, but not exactly "evenly in one place as another." I wondered if he meant a motion more like greasing and flouring a cake pan, but that also didn't have much effect.

Daunted, I gave it a break and let it dry. The primer became more opaque, but it also felt sort of slippery and easily brushed off the surface of the sakura board, especially in the areas that were more thickly applied.

I gave the other two boards a coating of chicken bone mixture with not much more success.

ca-grungehand.jpg
Drying boards and grungy fingers

The walnut board, which is the smoothest one, produced the most satisfactory but even it seems too transparent and fragile a surface to draw on. The two sakura boards are so uneven and lumpy that I will brush them down and try again. Maybe a second coat on top of a thin first coat will be an improvement.

It makes me wonder where I've gone wrong: wrong wood? Are the bones not calcined or ground correctly? Too much spit? Not enough? Is my 21st century saliva too different from Cennino's?

If he were here, he'd look at my mistakes, show me what to do, and I'd be on my merry way. As it is, I'll search for online resources on silverpoint drawing (for this is where the preparation of the little panel leads next) and hope that I twig to some great insight soon.

January 26, 2007

On Priming

I've been poking around trying to find more information about priming the little panel. Here are some excerpts from various websites I've read. Most use Cennino as a primary source!

Gesso would be used to coat the surface of the panel. The recipe would vary from studio to studio, though in its simplest form would consist of a mixture of calcinated lime and a binder. The binder was usually animal hide glue for permanence of just spit if it was just an exercise by an apprentice. For the calcinated lime, the thigh bones of a chicken would be burned to a fine white ash. Add that to the glue with some white lead and you have medieval gesso. This would be rubbed into the grain of the panel to be practiced on.

[...]The surface of the panel has to be relatively rough so that the gesso can have a good grip. It tends to flake off, otherwise. Gesso, if you're not into burning chicken bones and mixing with white lead, can be purchased from an art store or even from Walmart. Usually, about 3 layers of gesso (with 1 hour between coats) will do it.

Silverpoint by Callista Magdalena di Scarlatti perhaps lifted from The Art of Silverpoint Drawing

I learned a lot about the purpose of ground at SilverPointWeb. They sell their own magic formula of ground, but the fundamentals are the same: ground is an abrasive that grinds away the silver from the point. In its instructions for use, SilverPointWeb suggest three to four coats of ground with the initial coats lightly sanded after drying.

American egg tempera artist Fred Wessel uses this technique for preparing his panels. This seems a bit too complex and perfectionist for my apprentice's practice panels, but it's good to understand how I may be doing it "for real" later on.

His procedure for preparing the panel was to glue a piece of linen canvas to the seven-ply plywood, size the surface with rabbit-skin glue, and then apply six layers of traditional gesso made from rabbit-skin glue and whiting. After allowing the layers of gesso to dry, Wessel rubbed the surface with charcoal dust to reveal imperfections and then carefully scraped them with a sharp, two-inch blade from a carpenter's plane. When the gray left by the charcoal dust was gone, he knew the surface was perfectly smooth.

Using Egg Tempera and Gold Leaf to Achieve Renaissance Luminosity by M. Stephen Doherty

So I will close this post and get back into the 14th century to apply more coats of bone-and-spit. When I'm ready for a break, or waiting for coatings to dry, I'll be checking out the conversations at the Cennini Forum.