Preparing to Draw
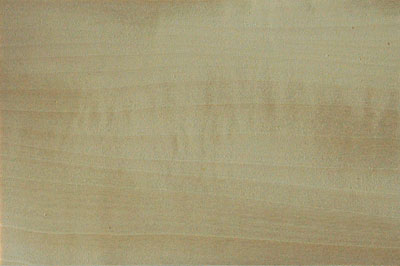
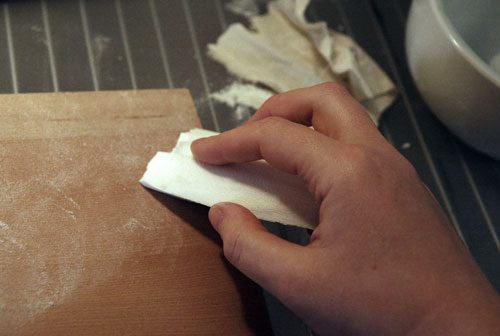
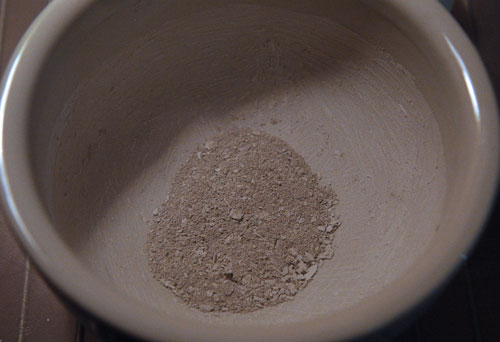
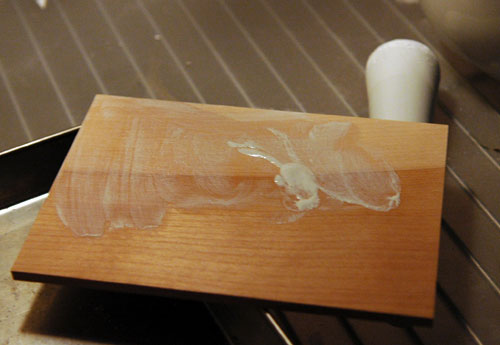
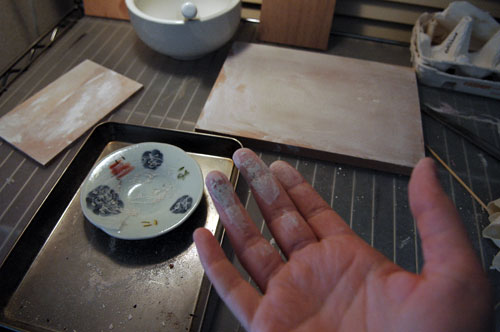
How you Begin Drawing On A Little Panel; And The System For It.As has been said, you begin with drawing. You ought to have the most elementary system, so as to be able to start drawing. First take a little boxwood panel, nine inches wide in each direction; all smooth and clean, that is, washed with clear water; rubbed and smoothed down with cuttle such as the goldsmiths use for casting. And when this little panel is thoroughly dry, take enough bone, ground diligently for two hours, to serve the purpose; and the finer it is, the better. Scrape it up afterward, take it and keep it wrapped up in a paper, dry. And when you need some for priming this little panel, take less than half a bean of this bone, or even less. And stir this bone up with saliva. Spread it all over the little panel with your fingers; and, before it gets dry, hold the little panel in your left hand, and tap over the panel with the finger tip of your right hand until you see that it is quite dry. And it will get coated with bone as evenly in one place as in another.
My questions:
Where do I find a boxwood panel?
What's cuttle? I think this must be cuttlebone, the same stuff they feed canaries. It can also be ground into powder for polish. That makes sense in this context.
"Enough bone"? What kind of bone? Cuttlebone? See below
Am I strong enough to grind bone "diligently for two hours"?
Cennino answers the bone question himself just a bit further on:
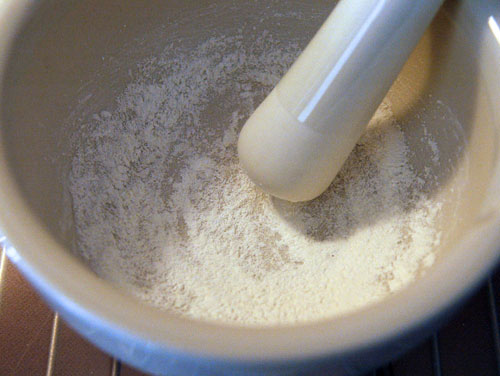
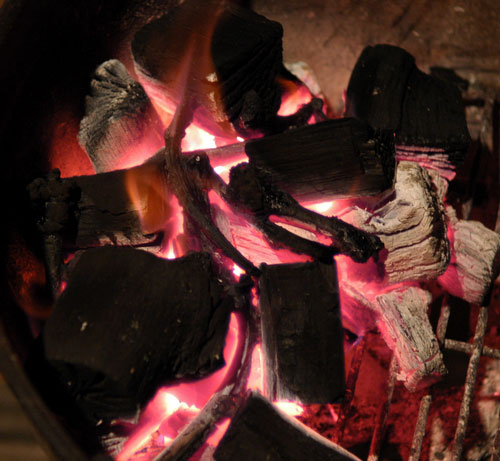
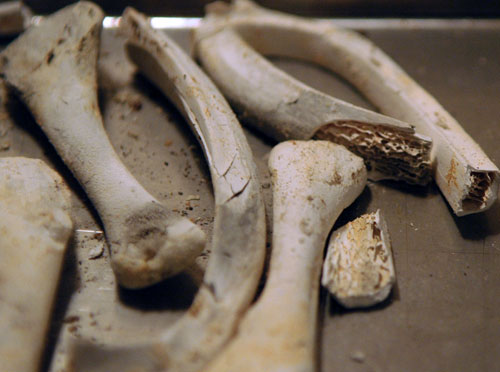
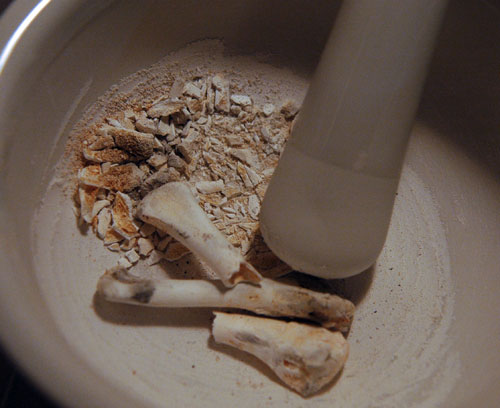
Silver-Point Drawing - What kind of Bone is Good For Treating the PanelsYou must know what bone is good. Take bone from the second joints and wings of fowls, or of a capon, and the older the are the better. Just as you find them under the dining-table, put them in the fire; and when you see that they have turned whiter than ashes, draw them out, and grind them well in the porphyry; and use it as I say above. The thigh bone of a gelded lamb is good, too, and the shoulder, calcined in the way described.
Chicken wing bones. Easy enough. But of course his answer raises a few more questions, not to mention a wonder at state of the 14th century dining room floor.
What's a porphyry? According to the dictionary it's a very hard, igneous rock with crystals in it. I am going to venture that this is what his mortar and pestle were made of.
How does one throw bones on a fire in a modern Tokyo apartment? I'm thinking the Weber grill must be about the only fire I'm going to get. I'm certain Tod will be happy to cook some lamb while I burn my chicken bones.
Cennino also mentions some other kinds of panels.
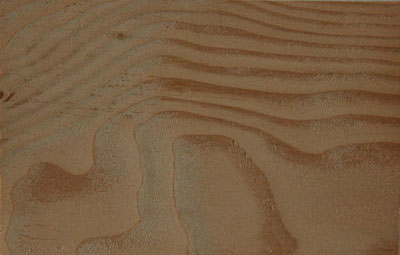
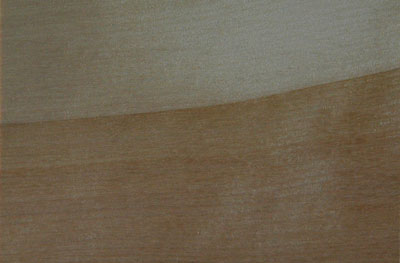
How To Draw On Several Kinds of Panels.For that purpose, a little panel of old fig wood is good; and also certain tablets which tradesmen use, which consist of sheep parchment gessoed and coated with white lead in oil, following the treatment with bone according to the system described.
So I guess I don't necessarily have to find boxwood panels if I can find fig wood ones instead. Or I can make some gessoed, lead-coated sheep parchment. I think I'll stick with boxwood.
I realise now that not only do I have to translate from 14th century to 21st century, but I'm also going to learn a lot of Japanese so that I can explain to shopkeepers just what I'm doing and why I need esoteric chemicals and animal skins.
大切な言葉
cuttlebone イカの甲
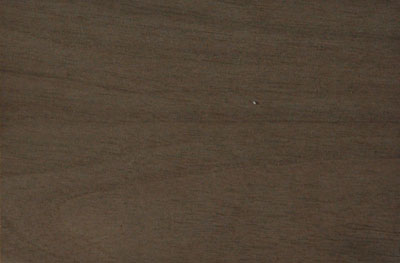
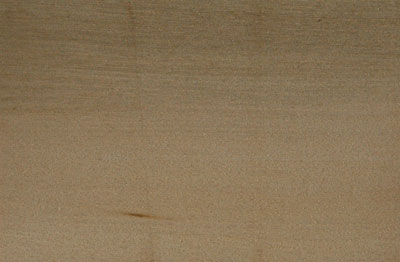
boxwood ツゲ材
sheepskin parchment 羊皮紙
mortar and pestle すり鉢とすりこ木
white lead (lead carbonate) 炭酸鉛